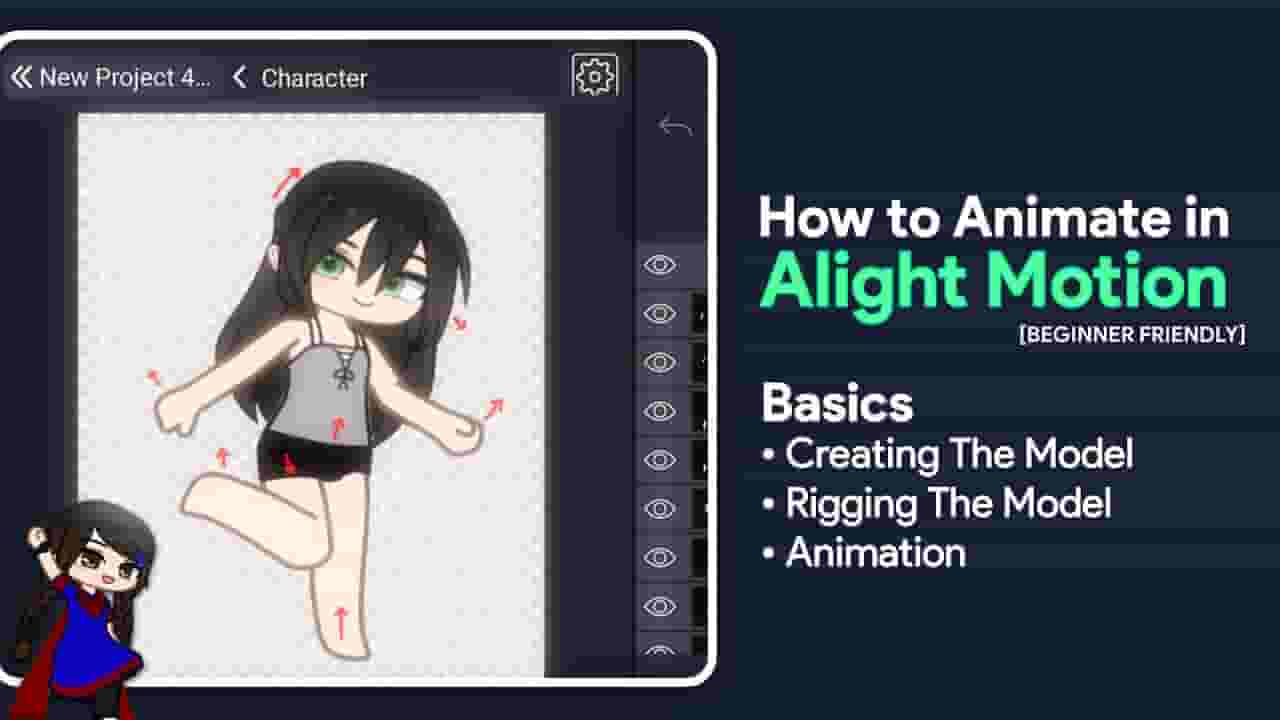
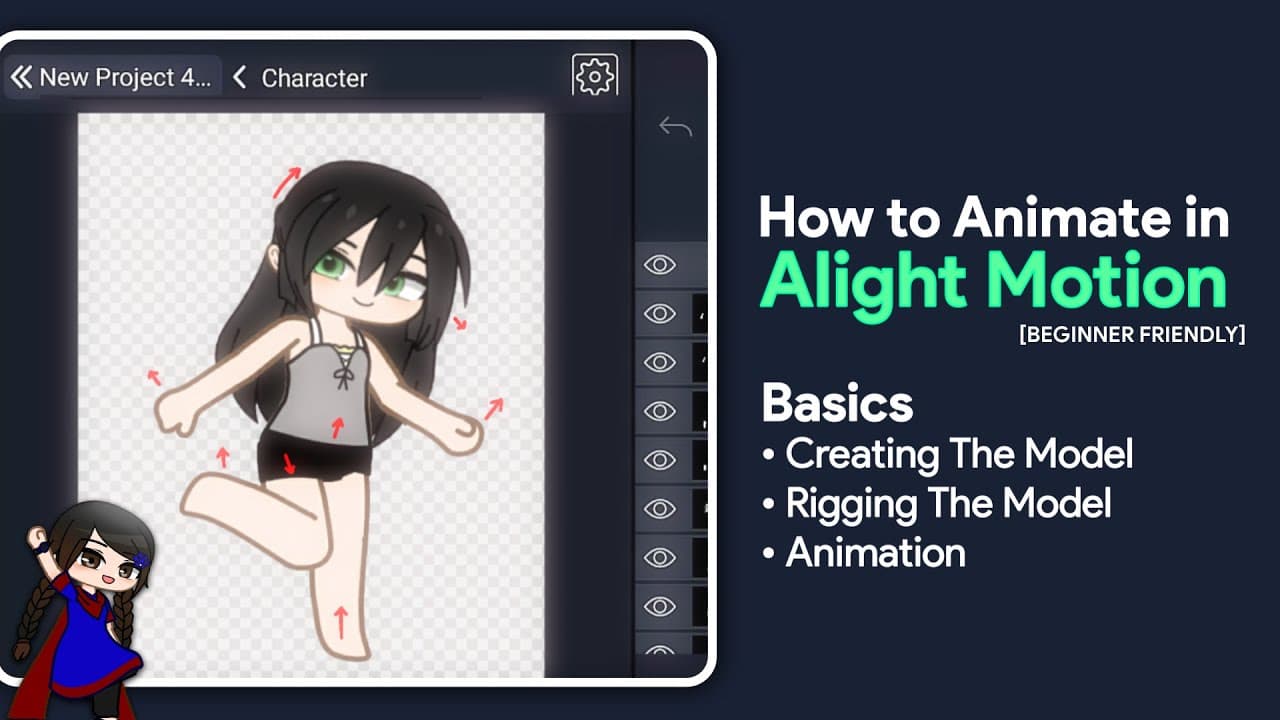


[BEGINNER FRIENDLY] How to Animate A Character in Alight Motion (Full Tutorial) | Check Description!
3,434,733
Socialcounts.Org
162,139
likes
6,024
comments
daily view 0
monthly view 0
Live Analytics
Comments 0
[BEGINNER FRIENDLY] How to Animate A Character in Alight Motion (Full Tutorial) | Check Description! Analytics Table
Income Estimates for [BEGINNER FRIENDLY] How to Animate A Character in Alight Motion (Full Tutorial) | Check Description!
Based on this YouTube video's total view count of 3.43M views and industry-standard rates, the estimated total earning is $2.40K - $6.87K through ad revenue. Historical data is not yet available to calculate daily, weekly, or monthly averages.
About [BEGINNER FRIENDLY] How to Animate A Character in Alight Motion (Full Tutorial) | Check Description!
Explore [BEGINNER FRIENDLY] How to Animate A Character in Alight Motion (Full Tutorial) | Check Description! with 3,434,733 views, 162,139 likes, and 6,024 comments. Experience the impact of this video content that has captured audience attention.
🚩 A MILLION THANKS TO @penguin22penguin22!!! They helped me finally fix this video so THANK YOU SO MUCH! (I cut out segments of this video accidentally, and some parts went missing.) Finally! The app name is "Alight Motion", it's in the title 😭 FREE EYE TUTORIAL: https://youtu.be/Jq_6Rv5YWwQ 🔷 IMPORTANT INFO: Yes, there are several ways of doing this. • For separating a Character, the method I've shown will help you suffer less with 'unproportioned body parts' & will give you higher-quality body parts. PLEASE, the Body Map way will cause disproportionate & low-quality images. And the IbisPaint part is required for getting rid of the background. • You can only use either PARENTING or GROUPS It's not mandatory to use any or both. (Only use one of them to set up the character) Parenting requires Premium and Grouping is Free. • If you can't put a layer onto the Folder (In IbisPaint X), then simply just swipe right the layer that is under the folder. 🛑 HAVING A FOLDER ISSUE? Just skip that part and select the Transform Tool. Then scroll down and set it to "Canvas." That part was only added because the Canvas Transform feature was not available at the time. ● Check 07:10 for pivot points. TAP ON THE LOCATION SYMBOL AND THEN YOU'LL GET THE PIVOT POINT. Now just place it using the control pad. • To separate the Eyes or Hair, use these. https://youtube.com/playlist?list=PLJYnzg7CheugwlOepehdshjYVX4MW0UyT KEYFRAME TUTORIAL: https://youtu.be/yn96TcM8Nmw WALKING TUTORIAL [Beginner Friendly]: https://youtu.be/n8VSTotCJAE 🆓 Alight Motion Mod: https://apkmody.io/apps/alight-motion/download/0 🔷 Gacha Stu-Club is a combination of Gacha Studio and Gacha Club. 👷Aidah's Crime Scene: https://discord.gg/Yv5fTJtDZA 🎵 Music: J Bliz - Paralysis 🔷 | Playlists: 🔥 All Tutorials playlist: https://www.youtube.com/watch?v=k-xlNN-o-XM&list=PLJYnzg7Cheugz3JzxOIkcKNwVmVvwoObd 👱 | Hair Tutorials: https://www.youtube.com/playlist?list=PLJYnzg7CheuhxUxiwE5WhJxkSu2tuLge4 👁️ | Facial Tutorials: https://www.youtube.com/playlist?list=PLJYnzg7CheujyYrdS89yOF_J3v-IIB7iU 🦵 | Separation Tutorials Playlist: https://www.youtube.com/playlist?list=PLJYnzg7CheugwlOepehdshjYVX4MW0UyT 🔷 CHARACTER IPV: https://drive.google.com/file/d/1PGiuN2MiGgaLiv99UyoJbhYVlY9EGIDU/view?usp=drivesdk You can download this and open it to get the Separated Character that you've seen in this video. (IPV only works with IbisPaint X) 🔷┃Honorable Mentions & their links: ► Senpai Wolfie's how to have high-quality character Tutorial: https://youtu.be/J-OpaabFpUw ► Milk1-!: https://youtube.com/channel/UCLOGqngyR1DiTmVE-4ARVtw ► Pudding Bahagia's Hair Tutorial (After Effects): https://www.youtube.com/watch?v=NQeIdW8jkJE&t=252s 🔷┃Timestamps: 00:00 | Intro 00:07 | STEPS 00:20 | STEP 1: Separating The Body Parts 00:25 | Screenshoting The Body Parts 02:00 | 3 ways to create a Canvas 02:43 | Importing All The Body Parts 03:43 | Erasing The Background And Saving it 04:53 | Process 04:33 | Lasso 04:51 | Layer Order & Renaming 05:16 | IMPORTANT NOTES AND SOLUTIONS 05:45 | STEP 2: Setting Up a Character 05:47 | Importing & Naming Up The Body Parts 07:10 | Pivot Points 09:26 | Parenting 11:15 | Group 12:30 | Face & Hair 14:55 | STEP 3: Animating The Character 15:05 | Basic 15:40 | KEYFRAME 18:18 | EYES 23:09 | HAIR 16:18 | EXPORT | Saving The Animation 26:39 | Outro 🔷┃Social Medias: ► Discord: Kazi_Aidah | https://discord.gg/Yv5fTJtDZA ► Instagram: https://www.instagram.com/kazi_Aidah/ ► Facebook: https://www.facebook.com/kaziaidah.haque.9 ► Twitter: https://twitter.com/Kazi_Aidah?s=09 ► Tiktok: https://vm.tiktok.com/ZSJhLHLKJ/ ► Amino: http://aminoapps.com/u/Kazi_Aidah ► Google Chat / Hangouts: [email protected] Written. Keywords & Tags: #alightmotion #am #howto #animateinalightmotion #animateinam How to Animate in Alight Motion Gacha Alight Motion Tutorial How to separate the body parts How to set up a Character in Alight Motion
About YouTube Real-Time View Count
With SocialCounts.org’s view counter, track your YouTube video’s live view count and YouTube likes count in real time with fast, reliable updates.
Watch every YouTube video live view count rise with our real-time YouTube views tracker—built for accuracy and minimal delay.
Follow YouTube real time views as they happen, using our dedicated view counter for YouTube videos.
Get up-to-date live view count on YouTube and see real-time growth with SocialCounts.org’s smart tracking tools.
Embed Widget
Parameters:
fullscreen=true- Fullscreen countergraph=true- Live graph chartcounter=0/1/2- Select counter (0=likes, 1=views, 2=comments)
URL
Click to copy the embed URL to your clipboard